Knowing the theory of machine learning is important, but applying it in code is where the real learning happens. Scikit-learn is Python's most popular and beginner-friendly machine learning library.
It provides a clean, consistent interface for training models, making predictions, and evaluating performance, all in just a few lines of code.
Whether you are building a classifier, a regression model, or a clustering algorithm, Scikit-learn handles the heavy lifting so you can focus on the problem, not the mathematics.
Installing and Importing Scikit-learn
Scikit-learn comes pre-installed with Anaconda. To install manually:

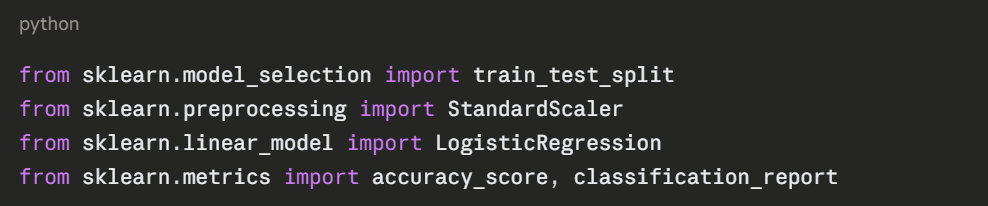
Import what you need at the top of your script:
The Scikit-learn Workflow
Every Scikit-learn project follows the same consistent pattern, regardless of which algorithm you use:
Load Data → Prepare Data → Split Data → Train Model → Evaluate → Predict
This consistent structure is one of Scikit-learn's greatest strengths, once you learn it for one algorithm, you can apply it to any other.
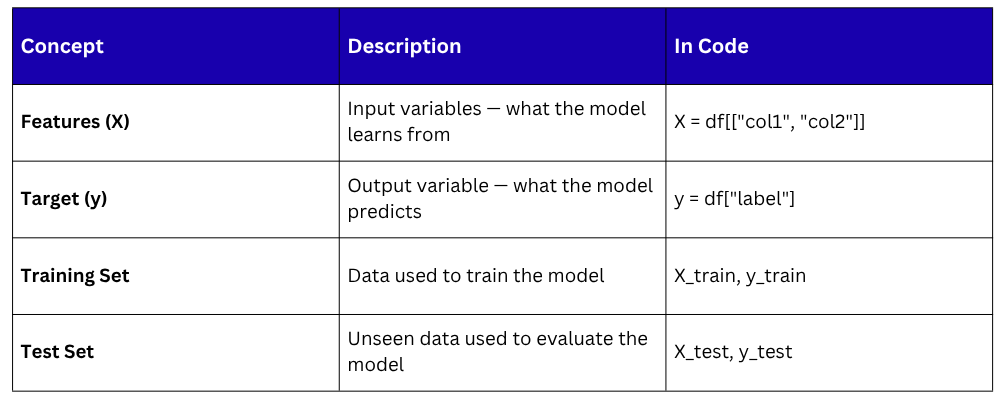
Core Concepts Before Building
Before writing code, understand these four essentials:
Step-by-Step — Building a Classification Model
The following example uses the built-in Iris dataset — a classic beginner dataset containing measurements of three species of flowers. The goal is to classify which species a flower belongs to based on its measurements.
Step 1 — Load the Data

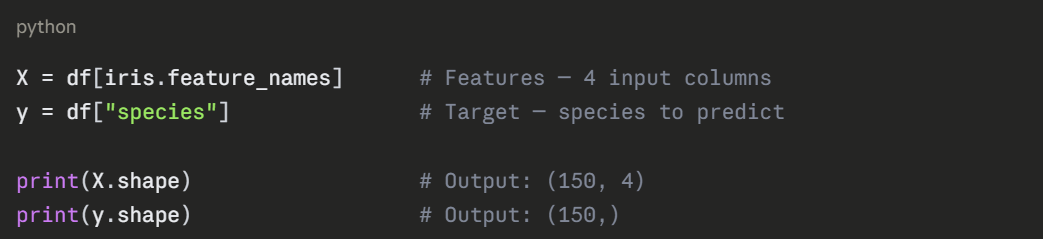
The dataset has 150 rows, 4 features (sepal length, sepal width, petal length, petal width), and 3 species (0, 1, 2).
Step 2 — Prepare Features and Target
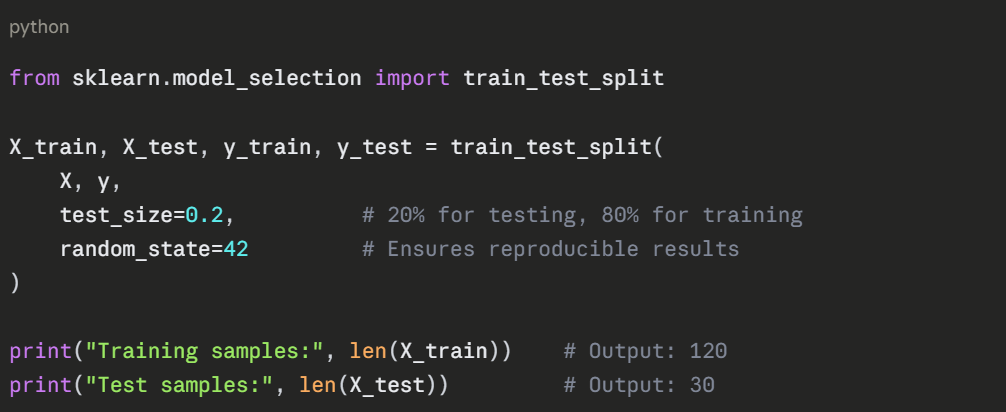
Step 3 — Split Data into Training and Test Sets
Never train and test on the same data, the model would simply memorize the answers. Use train_test_split to divide your data.
Step 4 — Scale the Features
Feature scaling ensures all features are on the same numerical scale, which improves model performance and training speed.
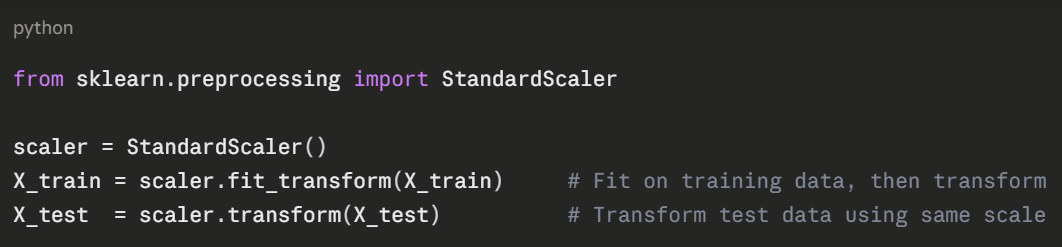
Important: Always fit the scaler on training data only. Applying it to test data separately prevents data leakage, where test data influences the training process.
Step 5 — Choose and Train the Model
Here a Logistic Regression model is used — a simple, effective classification algorithm.
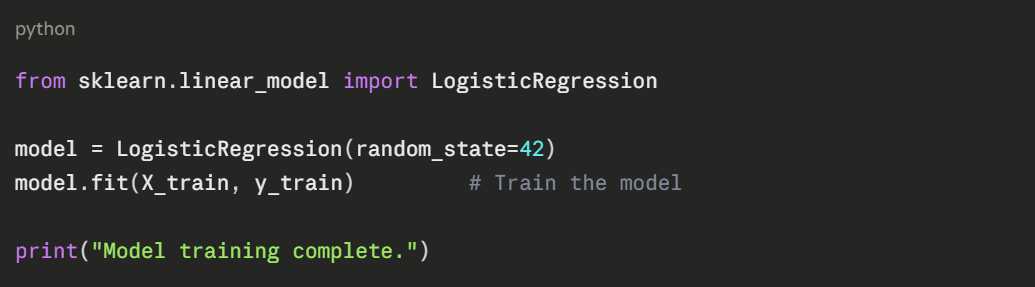
fit() is where the learning happens. The model analyses the training data and learns the patterns that separate the three species.
Step 6 — Make Predictions


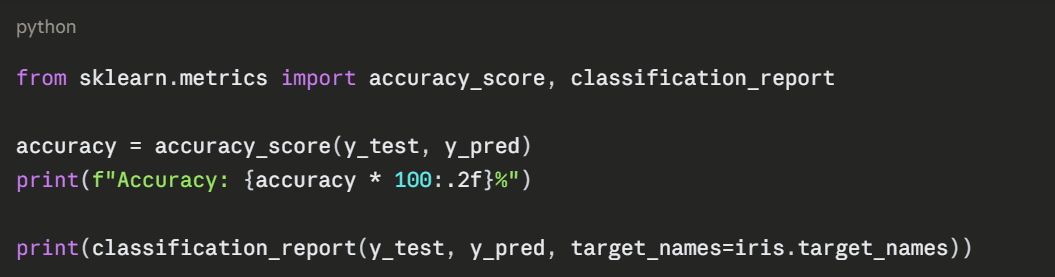
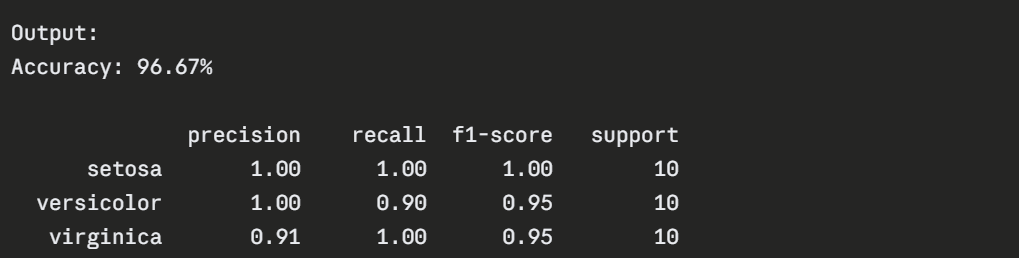
Step 7 — Evaluate the Model

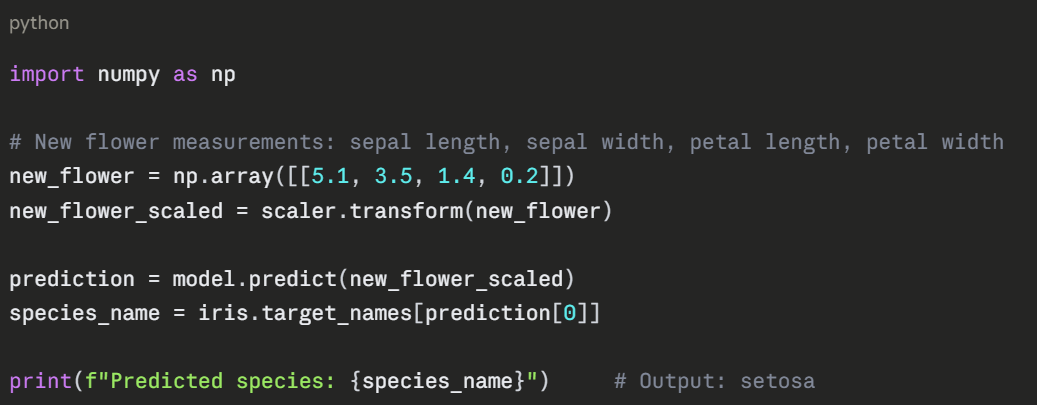
Making a Single Prediction
Once trained, the model can predict any new input instantly.
The Complete Code — All Steps Together
python
from sklearn.datasets import load_iris
from sklearn.model_selection import train_test_split
from sklearn.preprocessing import StandardScaler
from sklearn.linear_model import LogisticRegression
from sklearn.metrics import accuracy_score
import pandas as pd
import numpy as np
# Load data
iris = load_iris()
X = pd.DataFrame(iris.data, columns=iris.feature_names)
y = iris.target
# Split
X_train, X_test, y_train, y_test = train_test_split(X, y, test_size=0.2, random_state=42)
# Scale
scaler = StandardScaler()
X_train = scaler.fit_transform(X_train)
X_test = scaler.transform(X_test)
# Train
model = LogisticRegression(random_state=42)
model.fit(X_train, y_train)
# Evaluate
y_pred = model.predict(X_test)
print(f"Accuracy: {accuracy_score(y_test, y_pred) * 100:.2f}%")
# Predict new sample
sample = scaler.transform([[5.1, 3.5, 1.4, 0.2]])
print("Prediction:", iris.target_names[model.predict(sample)[0]])
Output:
Accuracy: 96.67%
Prediction: setosa

Class Sessions
Sales Campaign

We have a sales campaign on our promoted courses and products. You can purchase 1 products at a discounted price up to 15% discount.